Showing posts with label Thanksgiving. Show all posts

Tuesday, November 21, 2017

Thanksgiving 2017: Personalized Table Tent Cards


Today's project was a fun one created using a long ago retired Stampin' Up! Paper Pumpkin kit from September of 2015 that was sitting in my stash untouched and just begging to be put to good use! The photo below is what the kit was intended to create...but I went a bit rouge this time and made some table tent cards for Thanksgiving dinner instead, lol!


These cards are small -3" x 3" square. So I started by cutting 10 pieces of the orange cardstock 6" x 3" and running them through my machine with the falling leaves embossing folder. I then scored them at the 3" mark and folded them in half.


Using the tags, the stamps and the ink from the kit, I made 10 layered tags.


I then used my Creative Memories Wave Cutter to transform the large fringed piece you see on the left into the smaller piece you see on the right. this was not an easy task because the fringes keep wanting to get pushed out of the way instead of getting cut...but I persisted and pushed through until I had enough for each card. I did have to clean up some of the cuts with a small pair of scissors, but that didn't take too long!


For the girl's cards, I used the pumpkin colored ribbon to hang the tags and for the boy's I used the raffia -both were part of the original kit.


I then used a fine line black pen to write everyone's names along the bottom -stamping the dotted detail on either side in black ink. The finishing step here was tracing over their names in a sparkle gel pen for a tiny, subtle bit of glimmer.


For the inside greeting I die cut a label, sponged ink along the edges and stamped the retired greeting from TAC in that same ink.


Today's project will be entered @ Glitter 'N' Sparkle for "Thanks/Thanksgiving", @ Use Your Stuff for "Thankful", @ Dream Valley for "Add Texture" and @ Always Fun for "Thanksgiving".


Until next time ~Happy holiday crafting & have a blessed Thanksgiving~


Monday, November 13, 2017

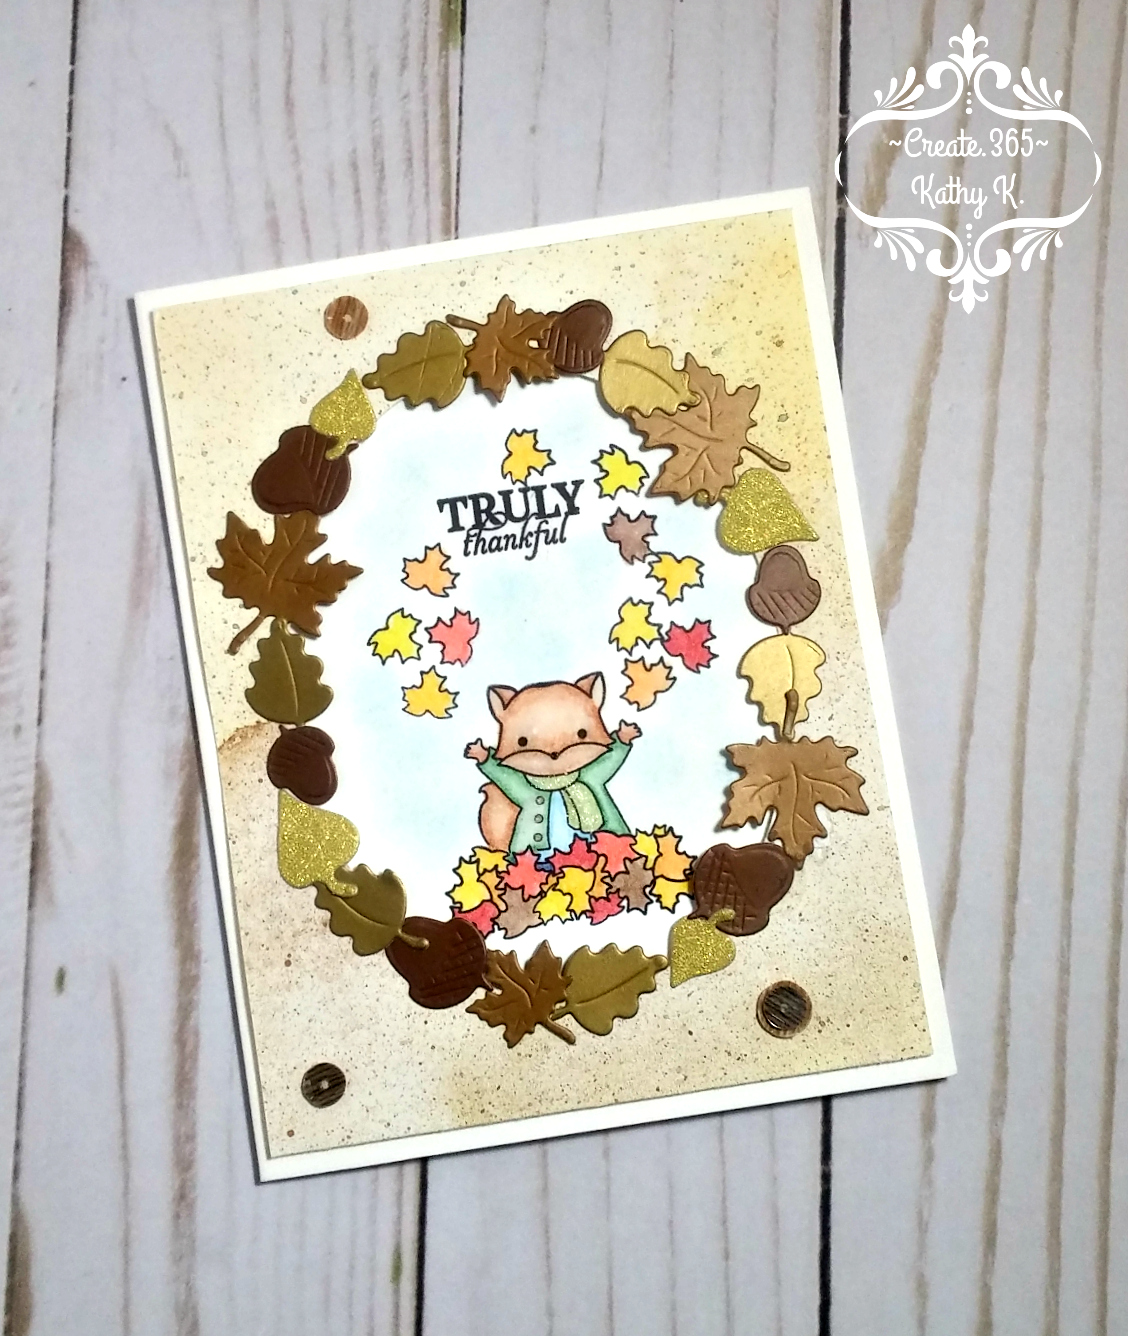
Truly Thankful!


Today's AHSC DT contribution card was made using the sketch from Atlantic Hearts and the inspiration from Cupcake Inspirations. It will also be entered @ International Art & Soul for "Autumn Colors", @ Dare 2 B Artsy for "Gratitude" and @ Come and Get It for "Thank You/ Thankful".


The first step was cutting an A2 side folding vertical card from white Bristol cardstock, picking out a patterned paper from my stash and finding scraps of metallic cardstocks that would fit my small diecuts.


 Once they were all cut out, I laid them out exactly the way I wanted them to be around the oval that I cut into the front of the patterned paper layer for the card front. I then used a little trick that I had learned from a Jennifer McGuire video to use Press N Seal to pick up all the pieces and hold them in their places...I just laid it right over the top of the diecut pieces, pressed down and then gently pealed it back -being super careful to keep everything intact!


I then flipped it all over to the back -with the sticky side of the plastic wrap facing up -and added glue to the outside of each diecut piece so that it would adhere to the outside of the oval frame in the patterned paper later. I let it sit for several minutes to give the glue a chance to set up and get tacky -you'll know it's ready when it changes from that white color to more of a clear color. Doing it this way insured that when I was ready to make the transfer to the patterned paper it would grab that instead of just sticking fast to the Press N Seal.


The next step was to carefully lay the plastic wrap holding the diecuts back down over the oval -this is fairly easy to do since you can see through the Press N Seal pretty well. Carefully peel back and press down the dies to make sure they are sticking well and that part is done!


All the stamping and coloring was done directly on the card front where it would peak through the oval window in the patterned paper. To get this just right, I had lightly traced inside the oval using a pencil before I glued the diecuts on. Using retired stamps from Stampin' Up! and new stamps from Sugar Pea, I stamped in black archival ink so that I could then color everything in using watercolor pencils and a blender pen.


To build the background, I  colored the sky by using a finger tip sponge dauber and light blue distress ink. After it was all sponged on, I then washed over it with a watercolor brush to soften the look.


To finish my design, I adhered the patterned paper layer using foam tape, topped off the fox's scarf with some clear Wink of Stella and adhered the wood grain sequins from Close To My Heart.


On the inside, I used the oval cut out from the front window, stamped my sentiment (retired from TAC) on it using black ink and glued on some leftover diecut leaves.


That's it for me today...until next time~


Monday, October 16, 2017

A Squirrelly Thanksgiving


Today's card was made as my design team contribution for this week's sketch challenge from the Atlantic Hearts Sketch Challenge Blog using stamps from Close To My Heart (front) and TAC (inside).


Pretty sure the patterned paper also came from CTMH from a few years back, but I am not 100% sure on that! Card base is a top folding vertical layout on a cream flecked cardstock.


Utilizing the Stamp Perfect positioner tool made the stamping go so much faster because I was able to stamp more than one item at a time and perfectly position everything just the way I wanted it using black Memento ink.


Using a small selection of Spectrum Noir alcohol markers, I colored the images and accented them with gel pens and a white colored pencil to capture some of the details. I then sponged dark brown ink around the edges for a nice, soft look.


Using the sketch as my guide, I adhered the layers with my ATG gun and finished off with the gold ribbon and some autumn colored sequins.


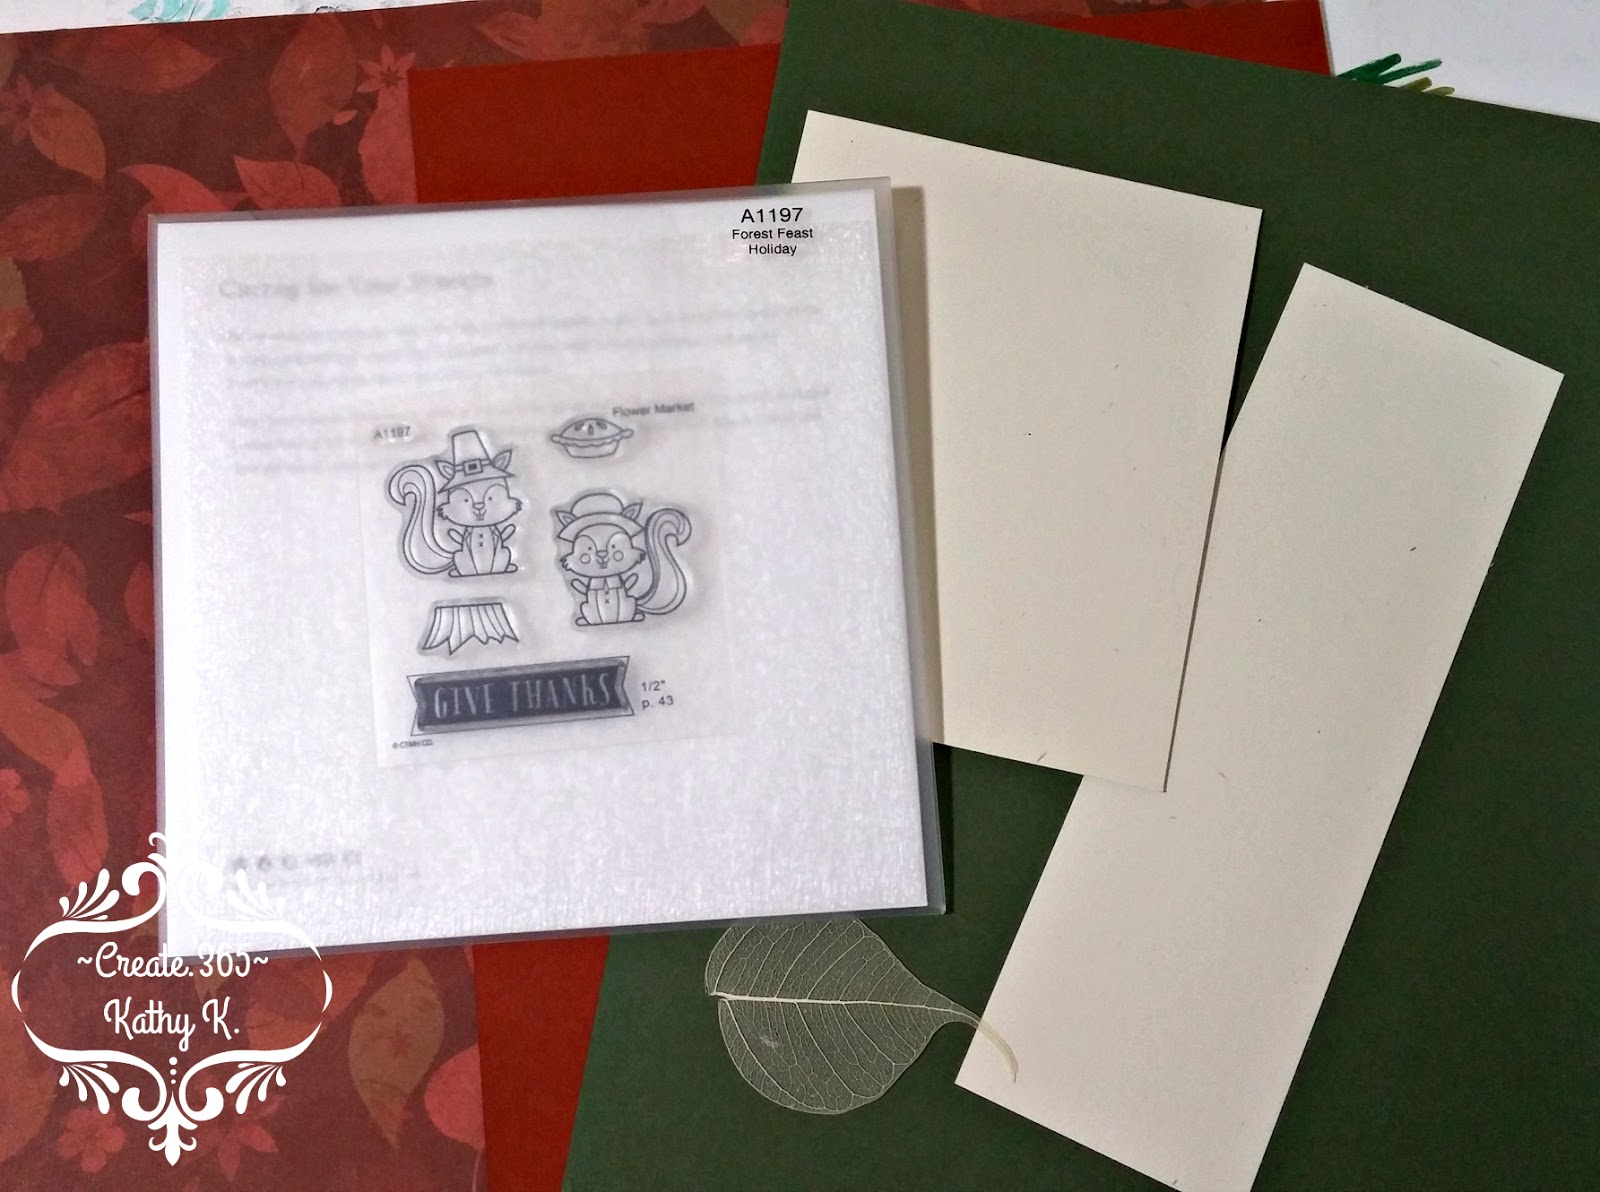
The last step was tucking the cream skeleton leave up under the layers and securing it with a mini glue dot at it's base so that you can't see it.


The inside was kept sweet and simple using a paper scrap and a sentiment stamp.


That's it for me today and now that we are back from vacation and getting back into the groove of things, I will be heading back down to my stamp room...right after I tackle that mountain of dirty laundry that we brought back with us, lol. Until next time~