Friday, December 8, 2017

How to Decorate Your Planner for the Holidays Using The Best Glue Ever


Today's design team post with ScraPerfect will also be my first entry in the Winter Coffee Lover's Bloghop that begins today. I had some more fun working with digital stamps (this time from Verve) for this planner spread. Follow along with me through the steps below...


The first step was picking my color scheme -which I do by choosing my patterned papers. The papers here are from a holiday paper pack that I got at my local ACMoore. I then laid out my planner pages and marked the spaces where I wanted the paper to go. To quickly trim the rectangles to the perfect size I used my Happy Planner Classic sized box punch. 


Next, I colored the images I had printed out using my Spectrum Noir markers and did some minor shading with a white Prismacolor pencil.


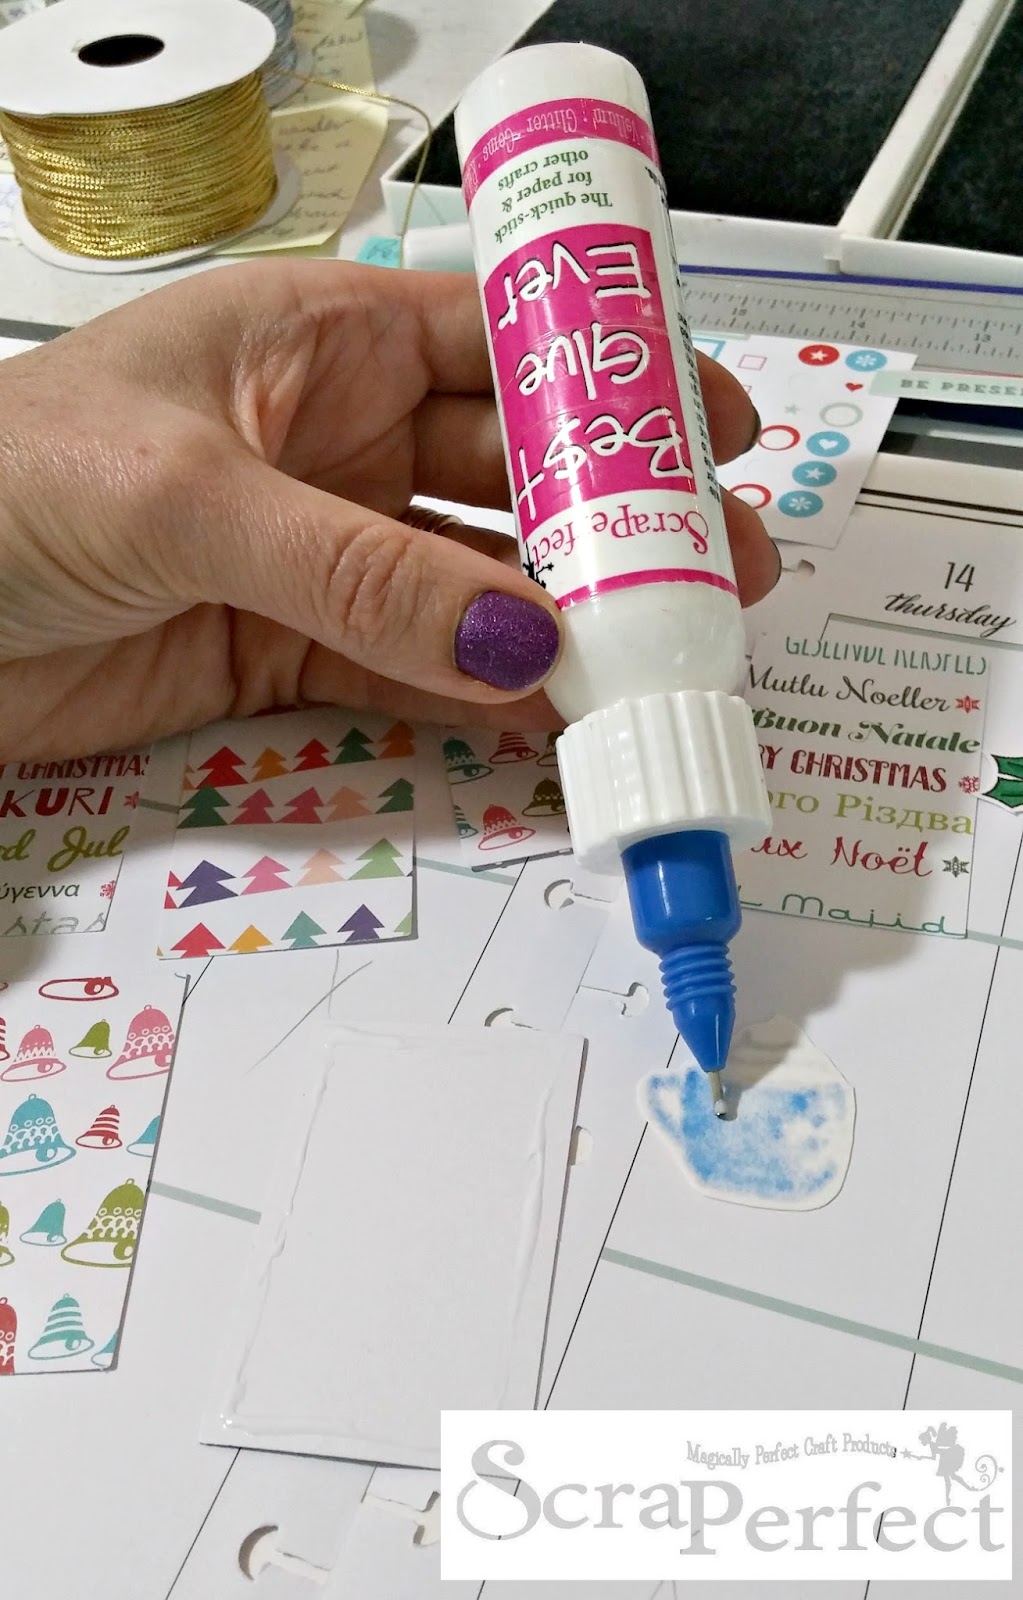
After fussy cutting out all the coffee themed images,  I adhered everything to the planner pages using the Best Glue Ever along with the No Clog Writing Cap.

To add some more color to my pages I also added planner stickers, washi tapes and some subtle ink blending on several of the blocks plus all around the page edges.


To make the large snowflake shine and shimmer, I heat embossed it using a clear glitter embossing powder before cutting it out. I then also used a tiny snowflake punch on the extra embossed cardstock to scatter throughout the spread.


Of course, I couldn't resist using some Wink of Stella and Stardust Gelly Roll accents -that's the bit of glimmer you see above on the whip cream and the letters.


Below, you can see the highlighted definition I was able to achieve by adding the white colored pencil on top of the alcohol markers.


That's it for me today -so remember that the Best Glue Ever is perfect to use in your creative planning because you only need a tiny amount and it then dries clean and smoothly so it won't wrinkle or buckle up your pages! Until next time, happy crafting with ScraPerfect!


Thursday, December 7, 2017

I Whale Always Love You!


Today's card made for the Itsy Bitsy design team embraces the cool tones of winter and celebrates everlasting love...in large, oceanic, mammal style, lol! 

You may be wondering why I am showing you this pretty piece of tan, vintage paper from the Retro Paper Pack below...but believe it or not,  that is what I started out with for this project! I used only the top right portion of this 12" x 12" sheet (cut to 4 1/4" x 5 1/2") as the base for my stencil work. Follow along with the step -by -step below to see how it's done.


The first step was using stencil tape to secure the Chevron Stencil down to my work surface over top of the Retro patterned paper. Using gray Hickory Smoke Distress Ink, I gently tapped the color through the stencil on to the paper. 


When it was covered completely, I removed the patterned paper, sprayed the inked surface of the stencil with water in a fine mist and then pulled a print of that watercolored design on to a separate piece of White Card. 


I then repeated that same process with the blue Tumbled Glass Distress Ink, but I offset the paper under the stencil to alternate the two colors.


I also used the two ink colors to add watercolor splotches on a small scrap of white card that I'll use for my sentiment banner. Below you can see the 3 pieces I was left with after my session of playing around with water, paper and ink.


After I gave it some time to dry, I used my diecut machine and the thin cut Banner Die set to cut a large banner from the water printed chevron paper, a medium banner from plain white card and a small banner from the watercolor splotched paper.


Then I got out my Black Chalk Ink and the Fintastic Birthday set to stamp the sentiment on the small banner and the whale on a scrap of white.


I tapped the Distess Ink pads in both colors on to a clear acrylic stamp block and pulled ink off using a water brush to watercolor the whale. After he was dry, I fussy cut him out and covered him with a little dusting of glitter.


Using Foam Tape adhesive and an office/desk stapler, I layered and adhered the banners and the whale to the front of a white A2 side folded vertical card.


Tiny silver stars from the Moon Light Shaker Sprinkles pack were randomly glued on to the card front for some subtle bling and then it was all done!


Check out Itsy Bitsy's webstore to find all the supplies used here today and until next time, happy crafting~


Wednesday, December 6, 2017

Meet Me Under the Mistletoe!


Let me just start by saying that today's card is a lot more gorgeous in person, lol! I had a terrible time trying to get good photos with all the white and the shine of the silver embossing, sigh. Oh well, guess you will just have to take my word for it -heehee and hopefully you will be able to see it's potential anyway.

I am trying to get better at doing truly CAS cards and I think I finally got it right this time! I was inspired by the sketch @ CAS(e) this Sketch and the theme @ AAA Cards, so I will be submitting there plus @ Double D Challenges for their Red and White challenge, and @ Repeat Impressions for "Glitter".


This card was made on a white A2 card base with the addition of some red patterned paper, silver glitter paper diecut using a die from Spellbinders, skinny washi tape in 2 patterns and stamps from several sets and companies.


The inside was treated just as specially as the front 'cuz this card will be for my hubby for Christmas and he deserves only the best! I used water based markers directly on the mistletoe stamp and then blended it a bit with the clear Wink of Stella pen, so it glitters when you see it in person!


The silver heat embossed sentiment on the front helps to ground the design and complete the sketch.


Hope you are enjoying all the prep that comes along with the December holidays -as for me, it's time to finally decorate my Christmas tree! Until next time~


Tuesday, December 5, 2017

Experimenting with Digital Stamps -Rockin' Elf


 This month, I'm stepping outside the walls of my usual crafting realm to try something new to me -Digital Stamps! These are just the cutest images and I have learned so much about the advantages of digital stamping in the last 2 weeks...I will never be a completely digital girl, but I see a lot of fun hybrid paper crafting in my near future ~ So stay tuned for upcoming digital creations and some exciting news that will be coming around the new year!


This cute little "Rockin' Elf" comes from the Craftin' Desert Diva's digi shop and was only $.99 to download. It is very easy to manipulate the size of your images in Word (You Tube has lots of good tutorials on this, if you want to learn how to do it -that's how I learned too, lol) and then print them out on good cardstock just like you would use if you were stamping. I use Neenah Classic Crest Cover Super Smooth Solar White 80lb for printing like this and it works perfectly!


Card base is heavy duty white 110lb Recollections card stock from Michael's and is cut in an A2 side folding vertical orientation. The traditional stamping of the sentiments was done with Stampin' Up's Real Red ink. The 1" squares were punched using a square punch from Creative Memories and a 6" x 6" Christmas paper pad from ACMoore. I popped the Elf up using foam tape after I colored him using alcohol markers and fussy cut him out.


This card will be entered in the Monthly Mood Board Challenge on Face Book in the Craftin' Desert Diva's Gallery Group, @ Deep Ocean Challenge for "Santa is Coming to Town" and @ Fab Friday for their color challenge #126.

That's it for me today and I hope you enjoyed seeing a bit of what you can do with digital stamps. For starters, I love that they won't take up shelf space in my already "bursting at the seams" craft room and that you can choose what size they will be etc...for example, I could've made this little guy much smaller if I had wanted to use him in my planner instead. Until next time~happy crafting!


Monday, December 4, 2017

CELEBRATE with Greetings of the Season!


Well, it's here...the one year anniversary of this little blog that documents my creative journey!


Today I want to share with you the second Christmas card that the group at my local library will be making next week. We'll be using a large background stamp, diecuts and some gold splatter to complete this simple design.

I will also be entering this @ Naughty or Nice Challenges for "Season's Greetings", @ 613 Avenue Create for "Christmas/Winter" and @ Come and Get It for "Christmas Challenge".


Inside, we'll step it up a notch while heat embossing the tree with gold glitter powder...All the stamps are long ago retired and from my stash of crafty goodness- as are the papers...I love making a dent in my supplies!


 Today, I'd like to leave you with a word of thanks...thank you for reading along with me, for subscribing and following...for leaving me words of encouragement...you make this journey worth sharing!!!


Until next time~

Friday, December 1, 2017

Fancy Folds: Making an Envelope Punch Board Handbag


Today's design team project for the Mix It Up Challenge Blog was made for the December monthly challenge of Fancy Folds. You can play along and see the other designer's projects here on the challenge blog.

The pictures have highlighted some of the tools that I used to make this cute little handbag but to really understand how it was made, just click on this You Tube link from the Paper Pixie to watch how it is done step-by-step. Her video is easy to follow and is exactly what I did to make mine from a 12 x 12 sheet of paper.

Stampin' Up Envelope Punch Board

Score Buddy


The patterned paper, lace and flower accent that I used for mine came from Itsy Bitsy. I used SU! Tear & Tape for the body of the purse and the Best Glue Ever to adhere the embellishments. The last step involved some die cutting and heat embossing to make the metallic gold greeting medallion.


I don't usually make too many 3D items, but this was alot of fun and very easy to do, so I will be exploring lots more ways to use my envelope punch board for things other than just envelopes, lol. Until next time, happy crafting~