Showing posts with label masculine. Show all posts

Tuesday, December 12, 2017

A Wintry Birthday Cup of Cheer


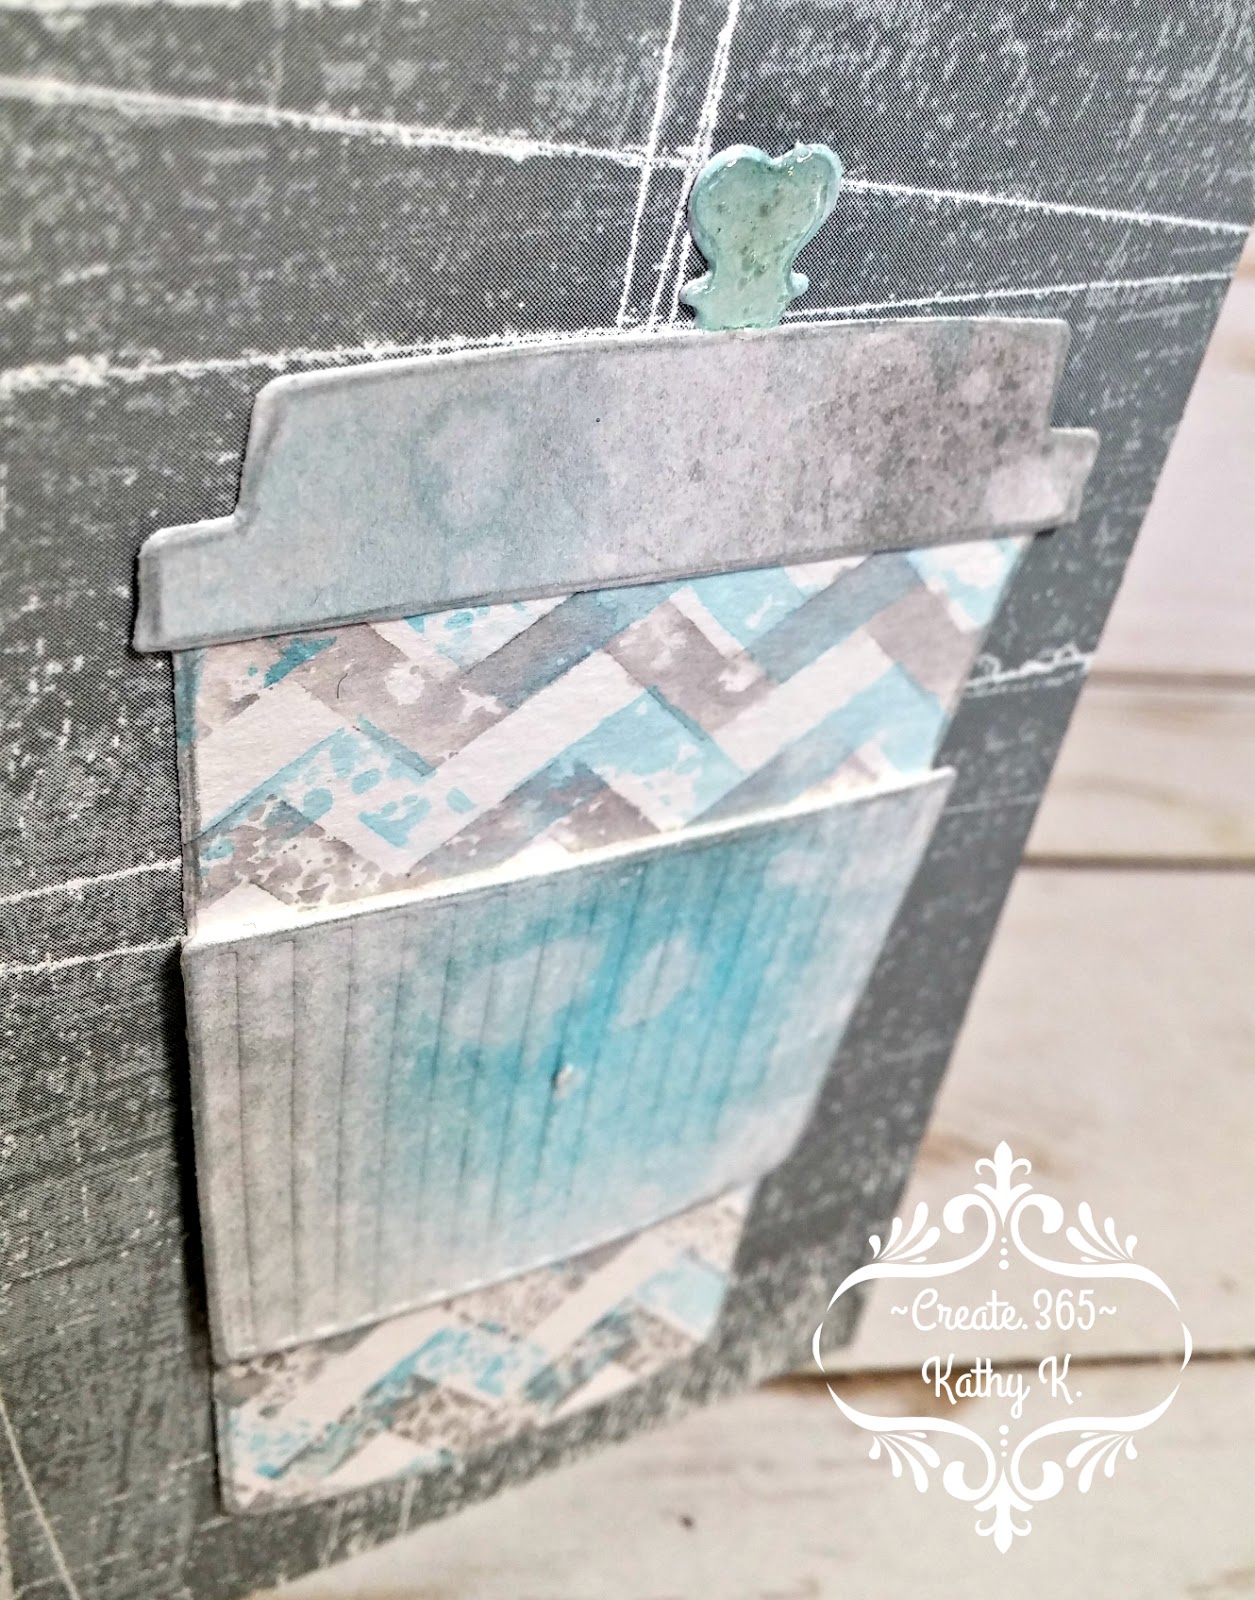
Today's card is my 2nd entry for the Winter Coffee Lover's Bloghop and also the birthday card that I sent to my son last week. I will also be entering it @ The Die Cut Divas for "Winter Cards", @ Hiding in My Craftroom for "Super Scraps Saturday" and @ Glitter 'N Sparkle for "Winter".


If you want to see how I made the scraps that I used for the die cut coffee cup then please check out this post here for the step-by-step tutorial using a stencil and distress inks. Otherwise, I used dies and stamps from Stampin' Up. I even covered the stir-stopper in Glossy Accents to help it stand out on the Basic Gray patterned paper background.

Inside I did some stamp shadowing by using a second generation stamped image on the sentiment and made good use of more scraps.


The front sentiment banner is a die cut and accented with blue matte enamel dots. The thread wrapped around the front has a lovely glitter running through it and made the perfect finishing touch without making it too feminine looking.


There are hundreds of entries over at the Coffee Loving Cardmakers page, so if you are a coffee lover too, be sure to give them a look! Until next time~


Monday, October 30, 2017

Metallic and Masculine Missing You


Today's card is my creative contribution to this week's sketch for the Atlantic Hearts Sketch Challenge and will also be entered @ 613 Avenue Create for "Anything Goes -Masculine"


Hopefully I won't confuse you with this picture, but I wanted to show a way that I use up some of my scrap paper...the card base is made using a light gray A2 top folding card, but the silver layer was done using a piece of cardstock that I had previously cut two christmas ornaments out of for another card. Once the layers are glued together, you will never even know those holes are there!

  
The two main stamp sets that I used are retired from Close To My Heart. I stamped and embossed the ribbon stripe three times in shades of silver metallic on a darker shade of gray cardstock to mimic the sketch after I treated the cardstock with an anti-static tool.


The blossoms were heat embossed in silver on the same lighter gray as the card base and cut out with the co-ordintating die set.


I used a large punch to cut out a vellum circle to help ground the blossoms before I adhered them to the card front -the smaller one was popped up with foam tape, as was the LOVE square in the bottom right corner.


It still looked like it was missing something, so I added a large clear sequin with a small rhinestone in the center to complete the visual triangle with the center of the blossoms.


Inside, I stamped and embossed the "Missing You" sentiment in silver. That's it for me today -come play along with us at Atlantic Hearts!


Until next time~


Tuesday, September 26, 2017

Wishing You a Speedy Recovery!

Today's card is my second chance at being the Guest Designer over at Retro Rubber where the theme is "Travel On" this week.  This time it is because this anniversary card was voted as the Design Team's Favorite back in August -WooHoo!!! I will also be entering it @ the Fusion Card Challenge because I used their sketch, @ Simon Says Stamp for the Wednesday "Pop It Up" challenge, @ Monochrome Magic for "Anything Goes", @ The Divas that Diecut for "Masculine/ Men/ Boys" and @ Creative Craft Cottage  also "For The Men/Boys". 


The ABC stamp sets and the car stamp set are all long ago retired from The Angel Company and I have had them for at least 10 years now. The scribble stamp set is newer and came from CTMH just a few months ago. The patterned paper is also over 10 years old and was from a coordinated paper stack. This card was made on an A2 white top folding card base, but I did rotate the sketch horizontally to better accommodate my images.


Because there was no coloring involved, this card went together pretty quickly! I stamped the scribble circle using my Stamp Perfect tool so that I could get good ink coverage when using such a light blue shadow ink. I then embossed the "Get Well" stamp (from SU! and also several years old) in silver right on top after I used the circle punch to cut it out.


To build my inside sentiment, I had to go completely custom using ABC stamps and black ink over top of a brushstroke stamped in light blue.


 I also stamped and embossed the car in silver on a white rectangle and then used a single, long, stitched diecut from Lawn Fawn on the top and bottom edges to help give it some definition. I then took my white Signo gel pen and added the faux stitches along the edge of the blue striped panel to help it stand out a bit from the blue background. I just love the texture that embossing adds to an image!


The sentiment circle was popped up with foam tape, but the rest of the design was glued down flat using my ATG gun. The last step to finishing the card front was to wrap the thin silver thread around the card front twice and securing it under the sentiment circle.


Inside, you can see that I also made good use of two of my paper scraps, plus I went back and stamped the dotted border in the blue ink.


That's it for me today -this card is now ready to go out in the mail to one of my hubby's co-workers who just had knee surgery. Until next time~