
Today's card was designed to teach a new concept to the gals at my local library by showing them how to make a Tent Card in November. This card will be entered @ Words 2 Craft By for "Autumn", @ The Crafty Addicts for "AG/Autumn Colors", @ Moving Along With the Times for "Autumn/ Fall", @ DL Art for "Thankful Thursday/Fall Colors", @ Creative Knockouts for "Fall", @ Double D for "Leaf It To Me", and @ City Crafter for "Pumpkins".

Using the size of the focal stamp as my guide, I cut my card base from olive green cardstock and scored it twice...once for the spine of the card and then again horizontally in the center of the front panel. I cut a layer from orange cardstock and trimmed around the ivory panel after stamping the image (this set was retired from Stampin' Up!) in brown Memento ink.

Using a label die cut set, I cut out the inside sentiment "stopper panel" and then sponged the edges with the brown ink after stamping the flowers and the sentiment. All coloring and shading was done with colored pencils.
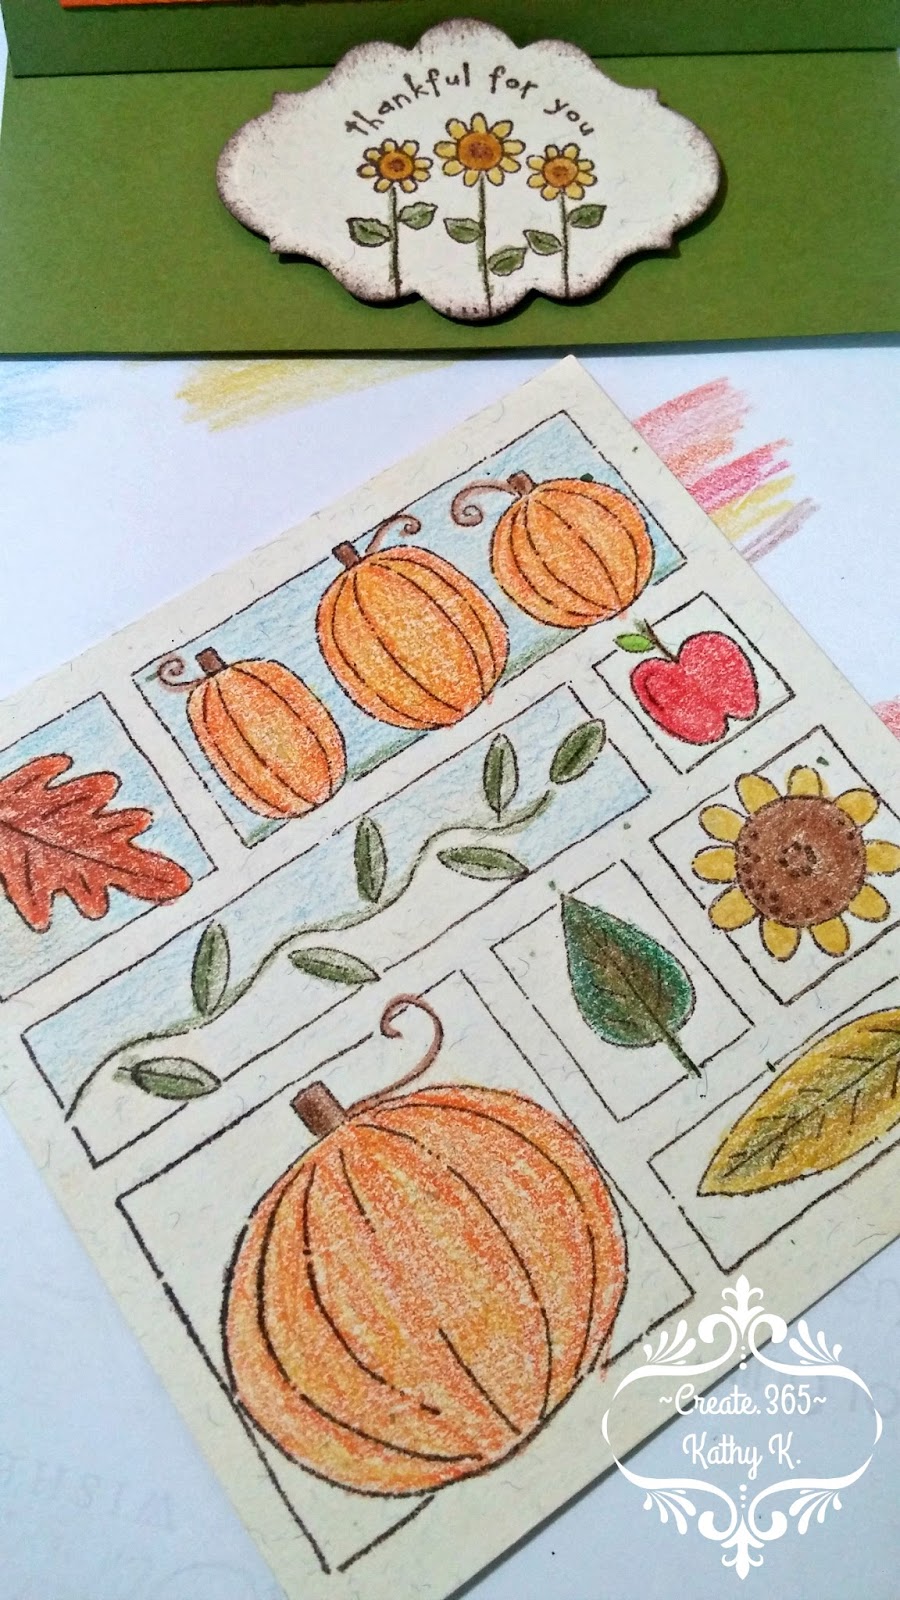
So that the "stopper" would be effective at holding up the card front, I adhered it with foam squares to the bottom inside of the card. When adhering the stamped panel to the front, the most important part is to remember that you only need to glue on the bottom half, lol!

While this card is on the smaller size -around 4" square - it is simple but eye catching!

As you can see, I added blue sky and green grass to the background of some of the pictures in the "collage" and shaded with darker colors for some depth.

On the inside, above the "stopper", I stamped the second sentiment from the set also in the same brown ink.

That's it for me today...things are slowly getting back to "normal" around here after returning from our wonderful vacation. Until next time~

