Hello~Kathy here today from Create.365 to share with you a cute way that I like to personalize my planner every month. Each month, I design a new pocket page dashboard for my planner using a Simple Stories scrapbook pocket page. Spring has finally sprung here in my neck of the woods, so I decided to use some of my favorite elements from nature to celebrate it's arrival with owls, flowers, feathers and many shades of green!
The Best Glue Ever really does work on everything from paper to metal -it's very strong and versatile stuff!
The whole tedious job of trimming all the papers was made super simple because I used my Pocket Cuts dies from Fun Stampers Journey to perfectly cut the pieces to fit in each pocket.
The coordinating patterned papers have been in my stash for so long that I no longer remember where they came from. However, the Owl stamp is new and came from Unity Stamp Company and the sentiments and feathers came from a set I got about a year ago from Paper Wishes. I used a small embossing folder from Cuttlebug to emboss the flower in the bottom left corner and then sanded it to get the white, distressed look.
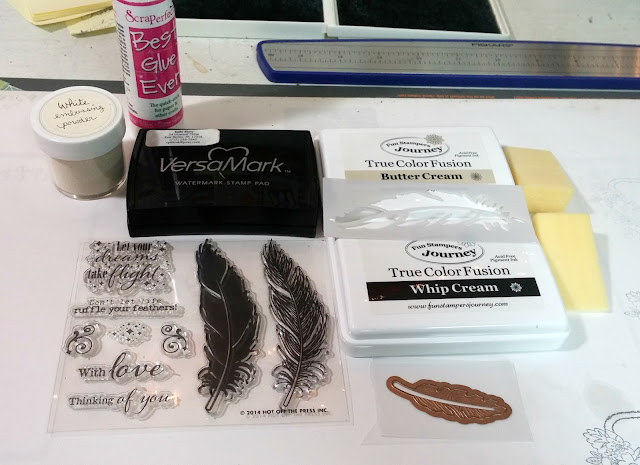
I stamped and embossed the solid feather in Versamark ink and white embossing powder on the sage patterned paper rectangle, but it still looked too plain, so I diecut 2 small feathers from vellum, tied a tiny jute bow and glued all 3 pieces on using more of the ScraPerfect's Best Glue Ever. The owl was stamped in Momento Tuxedo Black ink and colored in with Prismacolor watercolor pencils and the Dove Blender pen -they are pretty much my favorite coloring medium as of late -I just love the effect I can get with such little effort! I then diecut the cross-stitch border around the edges for some texture before gluing it onto the olive patterned paper and stamping the sentiment above it in FSJ Licorice Black ink.
The feather stamp set came with a matching stencil and I knew I wanted to incorporate that element somehow, but the stencil was still covered in an obnoxious sticky residue from the packaging it came in -UGG! This is where my ScraPerfect Best Cleaner Ever came in handy...I squirted a little cleaner on the stencil and smeared it all over the sticky glue residue. After letting it soak for a few minutes, I rubbed all that sticky gunk right off with a tissue....good as new!
On the back is where I decided to use the stencil and the detailed feather stamp.
Well, thanks for hanging out here in my craft room with me today...that pretty much finishes up my planner dashboard for the month of May! Until next time, happy crafting with ScraPerfect~


Beautiful!
ReplyDeleteHello!! I'am glad to read the whole content of this blog and am very excited.Thank you.
ReplyDeleteบอลพรุ่งนี้